Learning to sew is an amazing thing to do. It opens your mind and gets you to be creative, and it can also produce some pretty amazing stuff.
But many people are all talk when it comes to learning. They say they’d love to learn without ever taking the necessary steps to get started.
In reality, learning to sew is not so difficult. You certainly need a sewing machine, and you can check out our sewing machine buying guide to get started on that. But you also need a basic tutorial on using your machine.
So if you’re ready to get started, here’s what you need to know!
Let’s Get Sewing
Sewing with a sewing machine is like learning to ride a bike or drive. You won’t be amazing at first, but that’s normal, and it’s okay. Start slowly and have patience. You’ll get there.
Setting Up Your Machine
 Before you get to stitching, here’s how to set up your work station.
First, if you don’t have a special sewing table, you’ll want to put your machine on a large clean and clear table. Find a table that’s not used often. That way, you won’t have to put everything away in between work sessions.
Additionally, make sure that you have a comfortable chair and a space on the ground to put your foot pedal. Your workspace should be brightly lit. And you should have a side table or space beside your machine where you can put your extra fabric and essential tools like scissors, thread, bobbins, a fabric pen and measuring tape.
If you’ve never sewed with your machine before, familiarize yourself with it. Read the manual and watch some tutorial videos. You should know the name of each part and its function.
Plug in your machine and set up your foot pedal below the table. Flip on the power switch. Before threading the machine or inserting the needle, keep your hands away from the machine and press the foot pedal to test the function. It should start humming along!
Now, let’s talk about how to use your machine!
1. Threading Your Machine
Before you begin sewing, you need to thread your machine.
Sewing machines use two sources of thread. The color of thread that will be shown on the right side of your work will be on a spool. This spool sits on the top of your sewing machine and threads down through the machine to your needle.
The other source of thread is on your bobbin, which sits beneath your needle plate and needle. Bobbins are not generally sold fully threaded, so this is usually something that you’ll need to do yourself.
Every sewing machine needs to be threaded differently, so you’ll have to consult a users manual for instructions. Some machines have an auto thread feature, but even for these, you’ll need to read about how to use this function.
2. Winding the Bobbin
Most machines have a function on top for winding your bobbin thread. To do this, you’ll need an empty bobbin and the thread that you want to use on a spool. Refer to your instruction manual to learn exactly how to wind your bobbin with the foot pedal.
3. Drawing Out Your Threads in Preparation
Before you can begin sewing, you need to draw out your bobbin thread. In order to do this, you must first make sure that your spool thread has been threaded through the machine and through the needle.
Next, insert your fully threaded bobbin into the bobbin casing beneath your needle plate. Again, refer to your instruction manual because all bobbins will be inserted differently.
To pull up the bobbin thread, most machines will have you hand crank the hand wheel slowly. Your needle will go beneath the needle plate and pull up the bobbin thread in preparation for sewing.
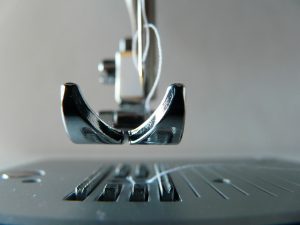
4. Putting in the Needle
Most sewing machines have a screw on the side of the needle casing. Loosen this screw, and you will be able to insert your new needle. Holding it in place, retighten the screw.
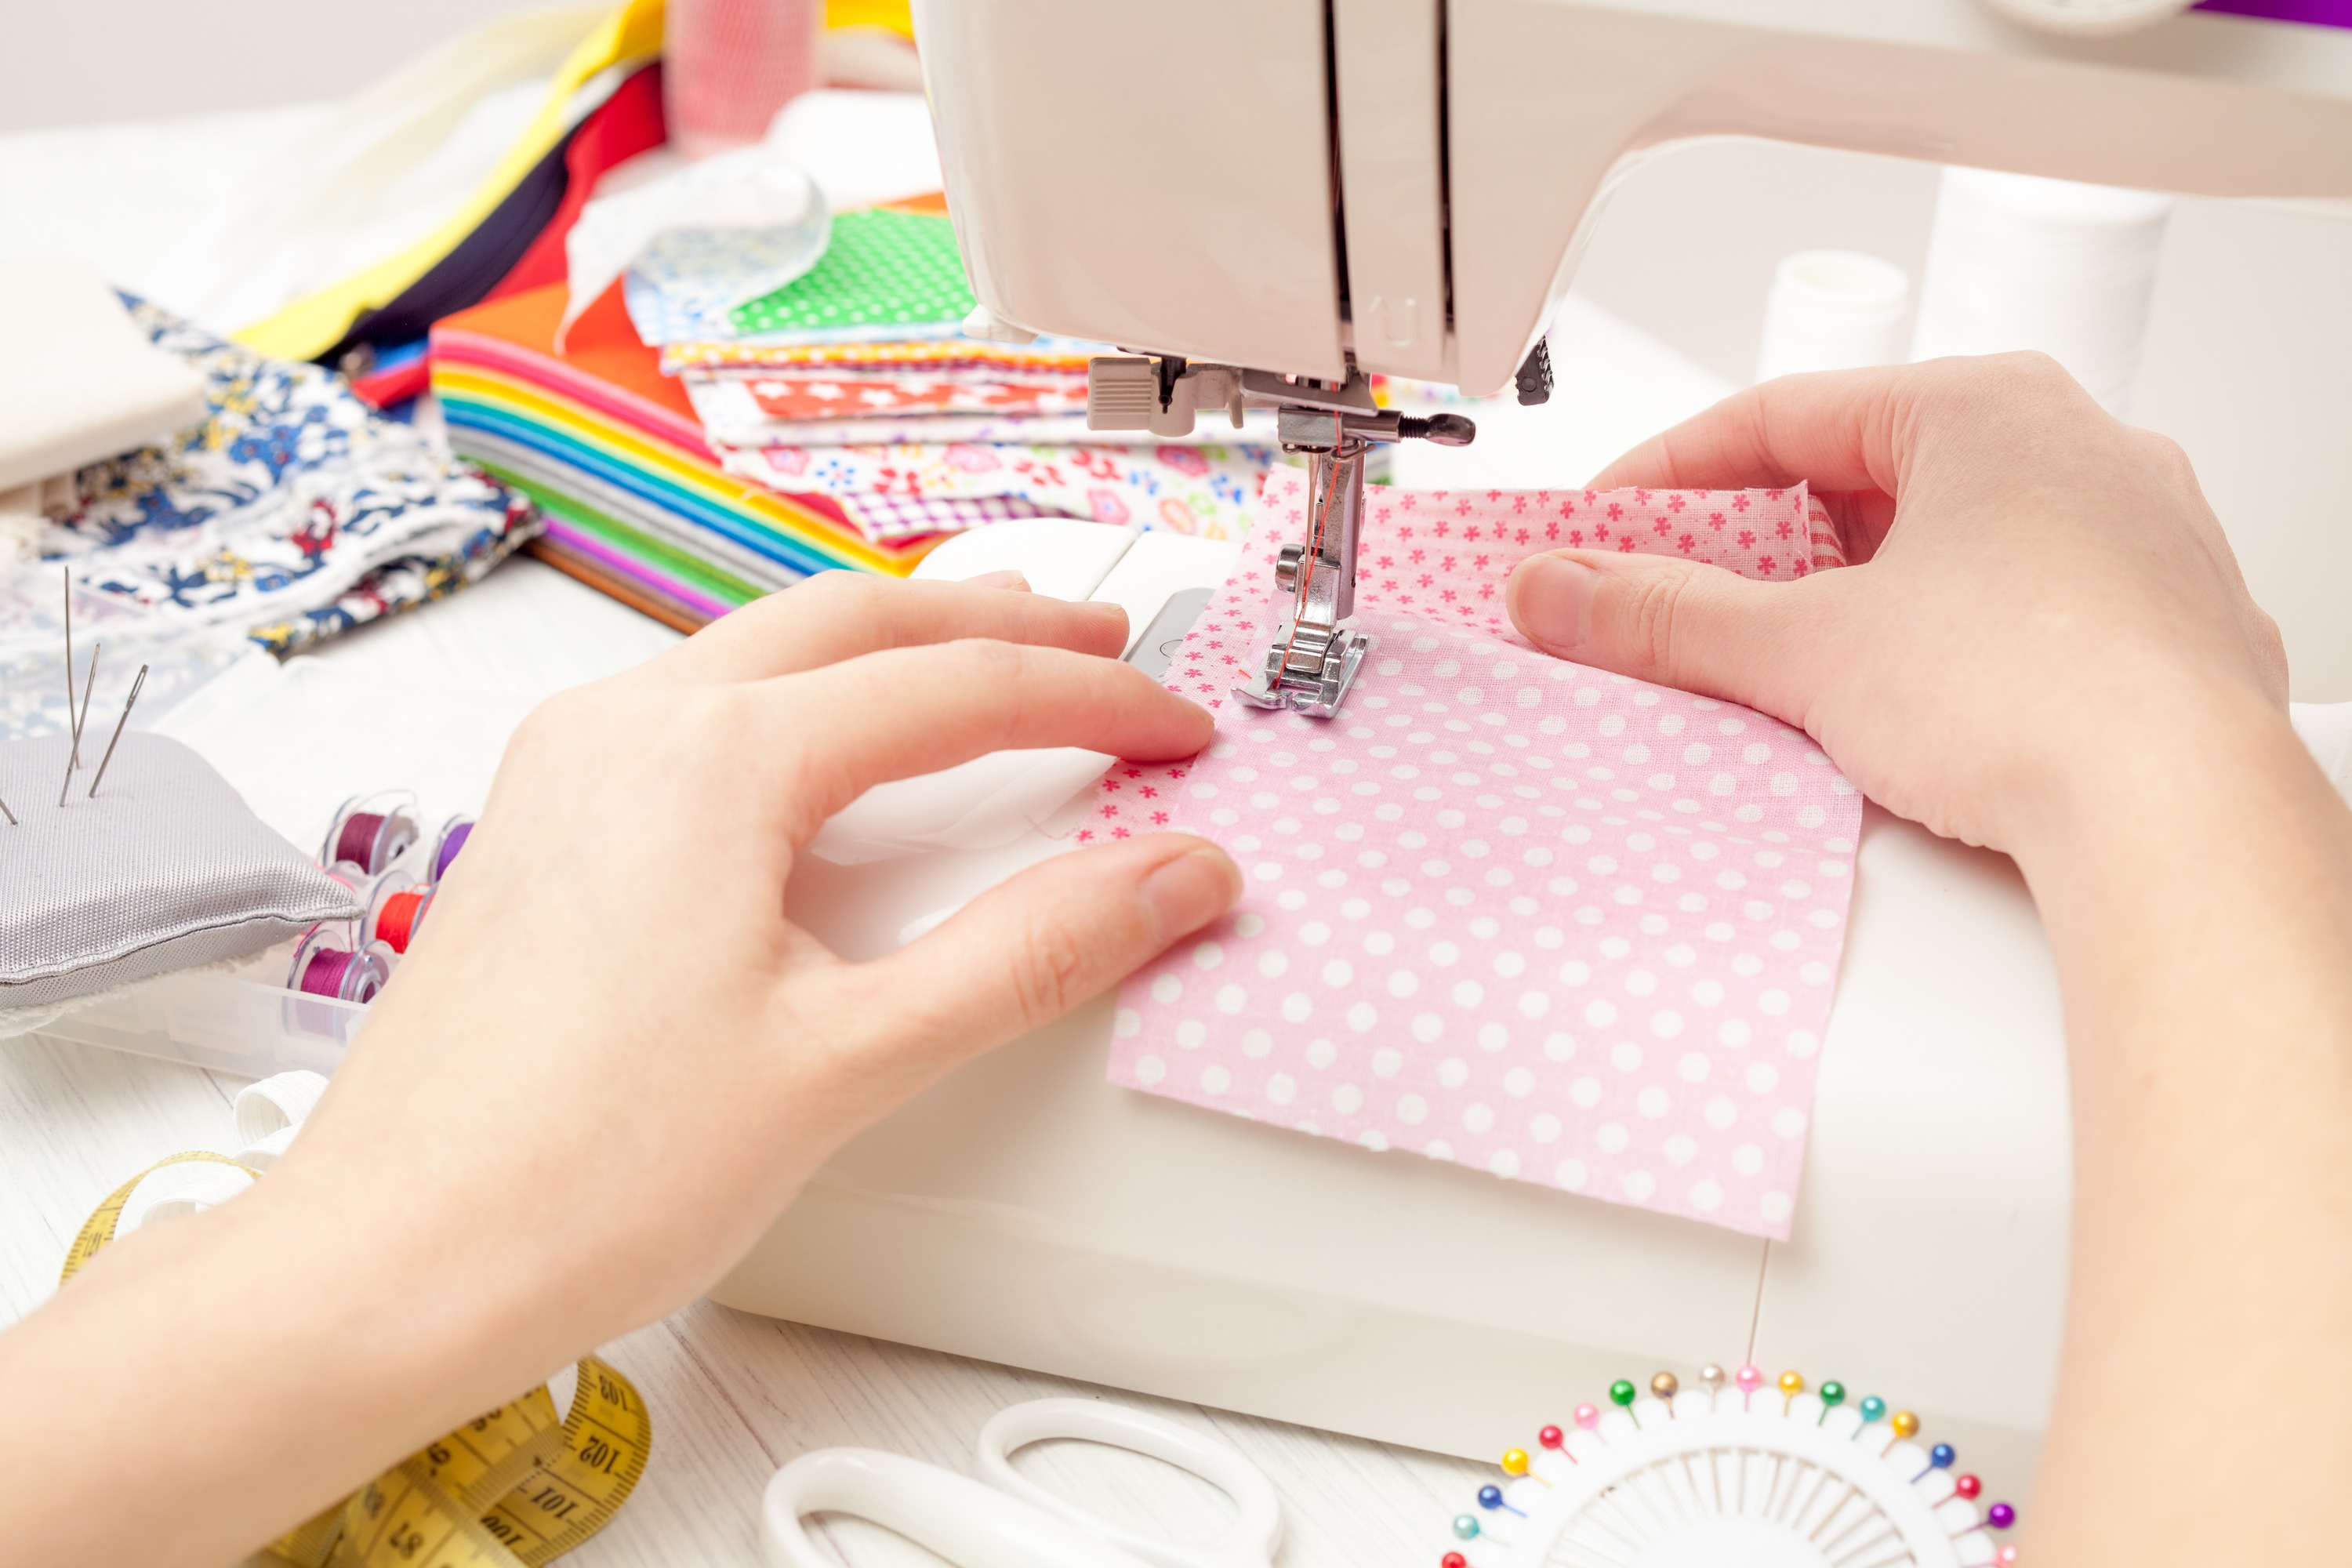
5. Prepping Your Work
Every time you sit down to sew, your goal will be something different. With that being said, most of the time with standard sewing, you’ll just be sewing in a straight line. Your needle always sews up and down in only one spot, so it’s your job to direct your fabric where you want the line to go.
Before sewing, make sure that you’ve prepped your fabric. Your edges should be crisp and clean, and folds should be ironed. If what you’re sewing is rather precarious and easy to become unaligned, you’ll also want to use straight pins to keep the pieces of fabric in place.
Let’s Try Some Practice Stitching!
 Before you start making a ball gown, you have to learn how to sew a straight line.
Get two pieces of fabric. Choose something simple like muslin or cotton, and cut them into rectangles that are about 4 x 8 inches. Iron the pieces and align the edges.
Set your machine to a straight stitch of medium length. This could be between 2 1/2 and 3. Put your needle in the highest position, lift the presser foot with the lever. Pull your two threads up and to the side, and slide your fabric beneath the pressure foot. Put your starting point directly beneath the needle.
Clamp down your presser foot onto the fabric. Flip on your machine, and pose your foot over the foot pedal. With hands on the fabric but away from the needle, slowly lower your needle into the fabric with the hand wheel. You should always begin sewing with your needle in the fabric.
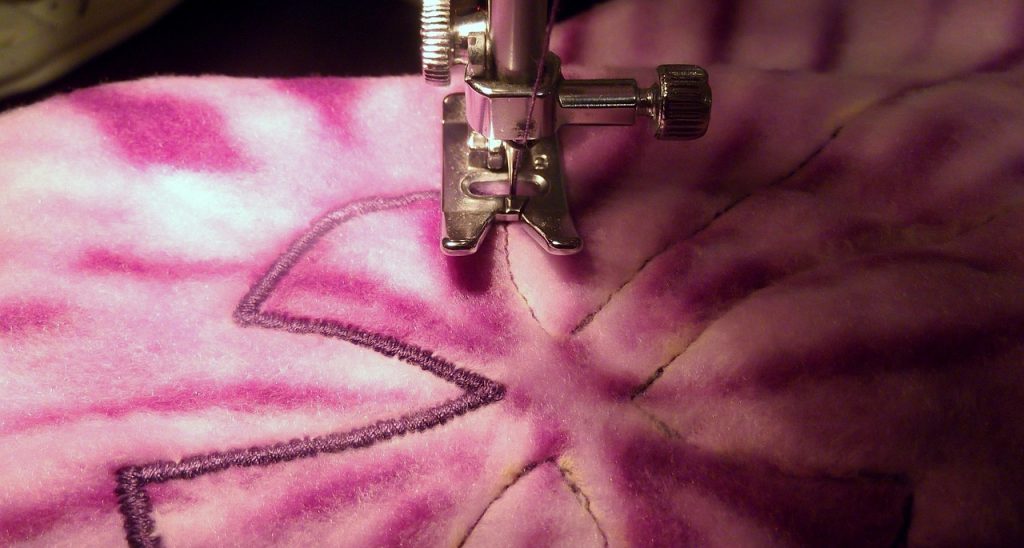
Now, press slowly onto the foot pedal and begin guiding the fabric away from you. You should see a straight stitch forming!
Sew a few inches of stitches before taking your foot off the pedal. Hand crank the needle out of the fabric and lift the presser foot. Slowly move your work out from under the pressure foot. There will usually be a built-in thread cutter above your needle. Use it to cut your threads, or just use scissors. But don’t let your threads drop back beneath the needle plate or come out of the needle.
Now examine your work. Well done!
Troubleshooting
If you feeling extremely frustrated at one point or another while sewing with your machine, don’t be shocked. This can happen and especially when you’re just starting out, problems with knotted stitches, broken needles and stalled machines can make you want to throw your work in the trash and never sew again.
The best thing to do in these instances is just to step away from your work for a while. But don’t stay away forever. Make an effort to do a little bit of sewing each day or once or twice a week so that you stay in tune and continue learning.
Generally, when you revisit your work, you’ll be able to calmly figure out the problem by simply rethreading the machine or replacing a broken needle. Sometimes, you may need to refer to the user’s manual for help. And rarely, your problem will require taking your sewing machine into a shop to be fixed.
Conclusion
It’s time to get sewing! You can start today by following the directions and guidelines above.
And remember, this guide is just the start. It’s an introduction to using the basic functions of a sewing machine. But there’s so much more that you can learn. Embroidery, monogramming, quilting and fashion design are all ahead.
As you go along, don’t get discouraged if your progress is slow. As you continue hacking away at your skill set, you’ll naturally improve. You’ve got good taste, and you know it has potential.
Finally, don’t forget that to use a sewing machine, you actually need one first! Head on over to our sewing machine buying guide, which has everything you’ll need to find the perfect sewing machine, including detailed specs, expert reviews and exactly what functions you need to consider on your search.


